

Painting your kitchen cabinets is one of the most affordable ways to refresh your home without the cost of a full remodel. Done correctly, it can completely transform your space and add years of life to your cabinetry. But if you skip steps or use the wrong materials, you could end up with peeling paint, streaks, or cabinets that don’t hold up.
Here’s a complete, step-by-step guide to help you get a professional-quality finish.
1. Choose the Right Paint and Supplies
The first step is selecting the correct type of paint. For cabinets, you’ll want a durable, high-quality paint that can handle moisture, heat, and daily use. An Eggshell, satin, or a semi-gloss, is best for kitchens because it’s easier to clean.
You’ll also need:
- Primer (oil-based or bonding primer works best for wood and laminate)
- High-density foam rollers and angled brushes
- Sandpaper (120–220 grit)
- Tack cloth or microfiber rags
- Painter’s tape and drop cloths
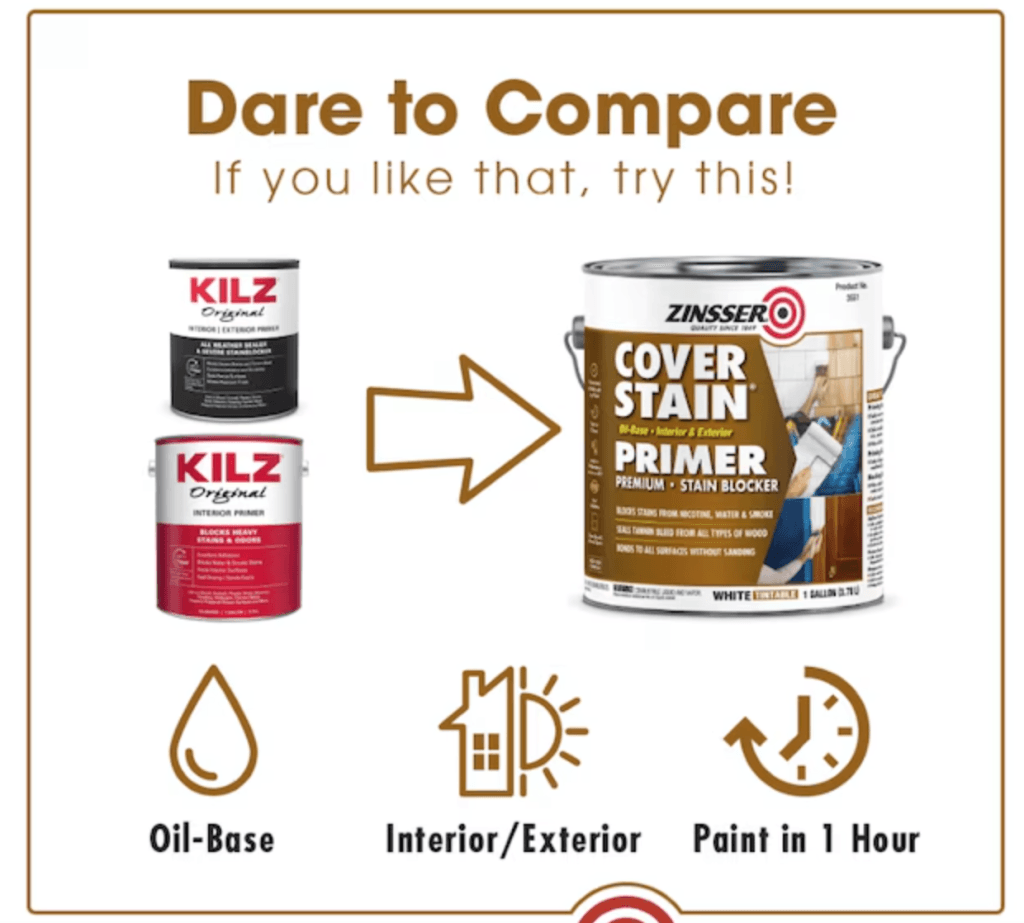
- Primer Must be Oil Kilz or Zinsser ( WE DO NOT ADVERTISE FOR THESE BRANDS BUT THEY ALWAYS GIVE HIGH QUALITY RESULT)
2. Remove Doors, Drawers, and Hardware
It might be tempting to paint with everything in place, but don’t. For a smooth, lasting finish, remove:
- Cabinet doors and drawers
- Knobs, pulls, and hinges
Label each door and drawer so you can easily reinstall them later.

3. Clean Thoroughly
Kitchens are full of grease and residue. Even the cleanest cabinets have buildup that can ruin paint adhesion.
- Wash all surfaces with a degreaser or a mix of warm water and dish soap.
- Rinse with clean water and let dry completely.

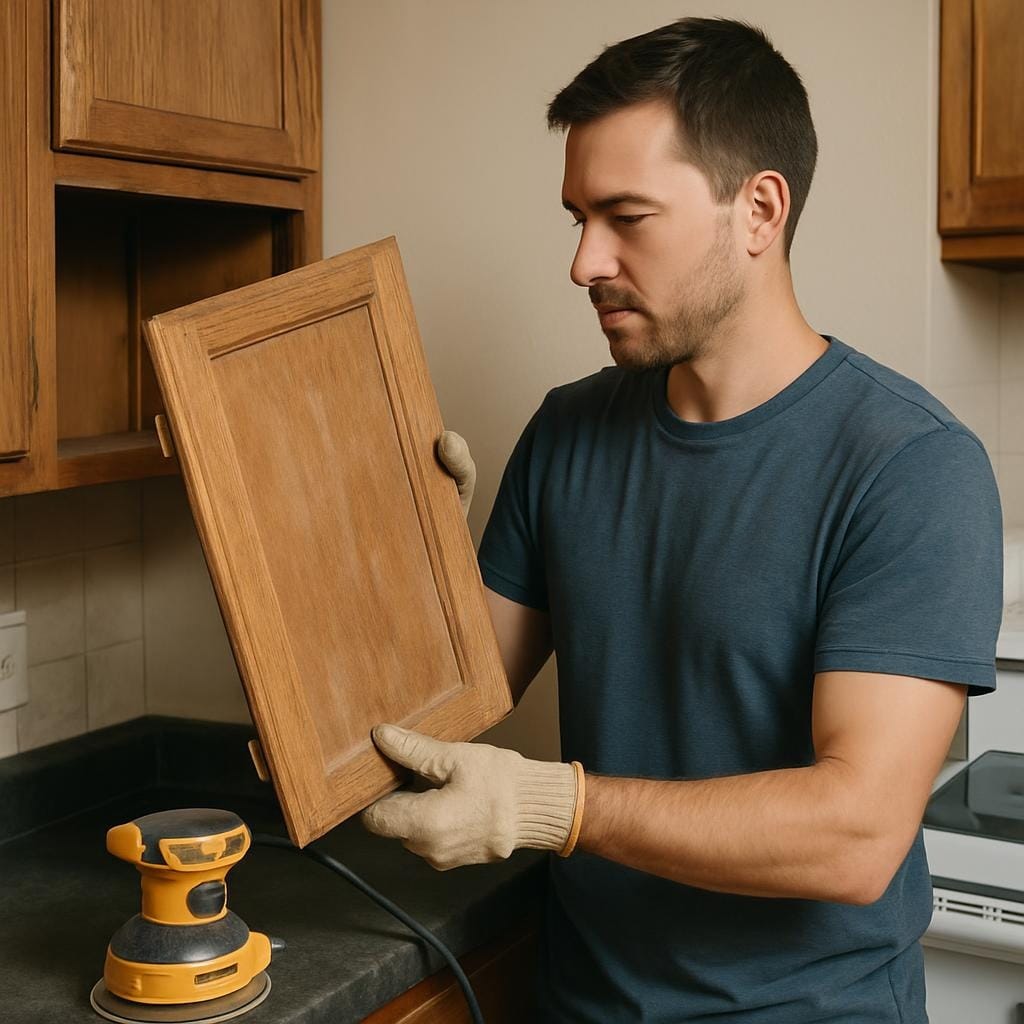
4. Sand the Surfaces
Light sanding is essential — it gives the primer something to grip onto.
- Use 120–150 grit sandpaper to scuff the surface.
- Wipe off dust with a tack cloth.
If your cabinets are glossy, don’t skip this step.
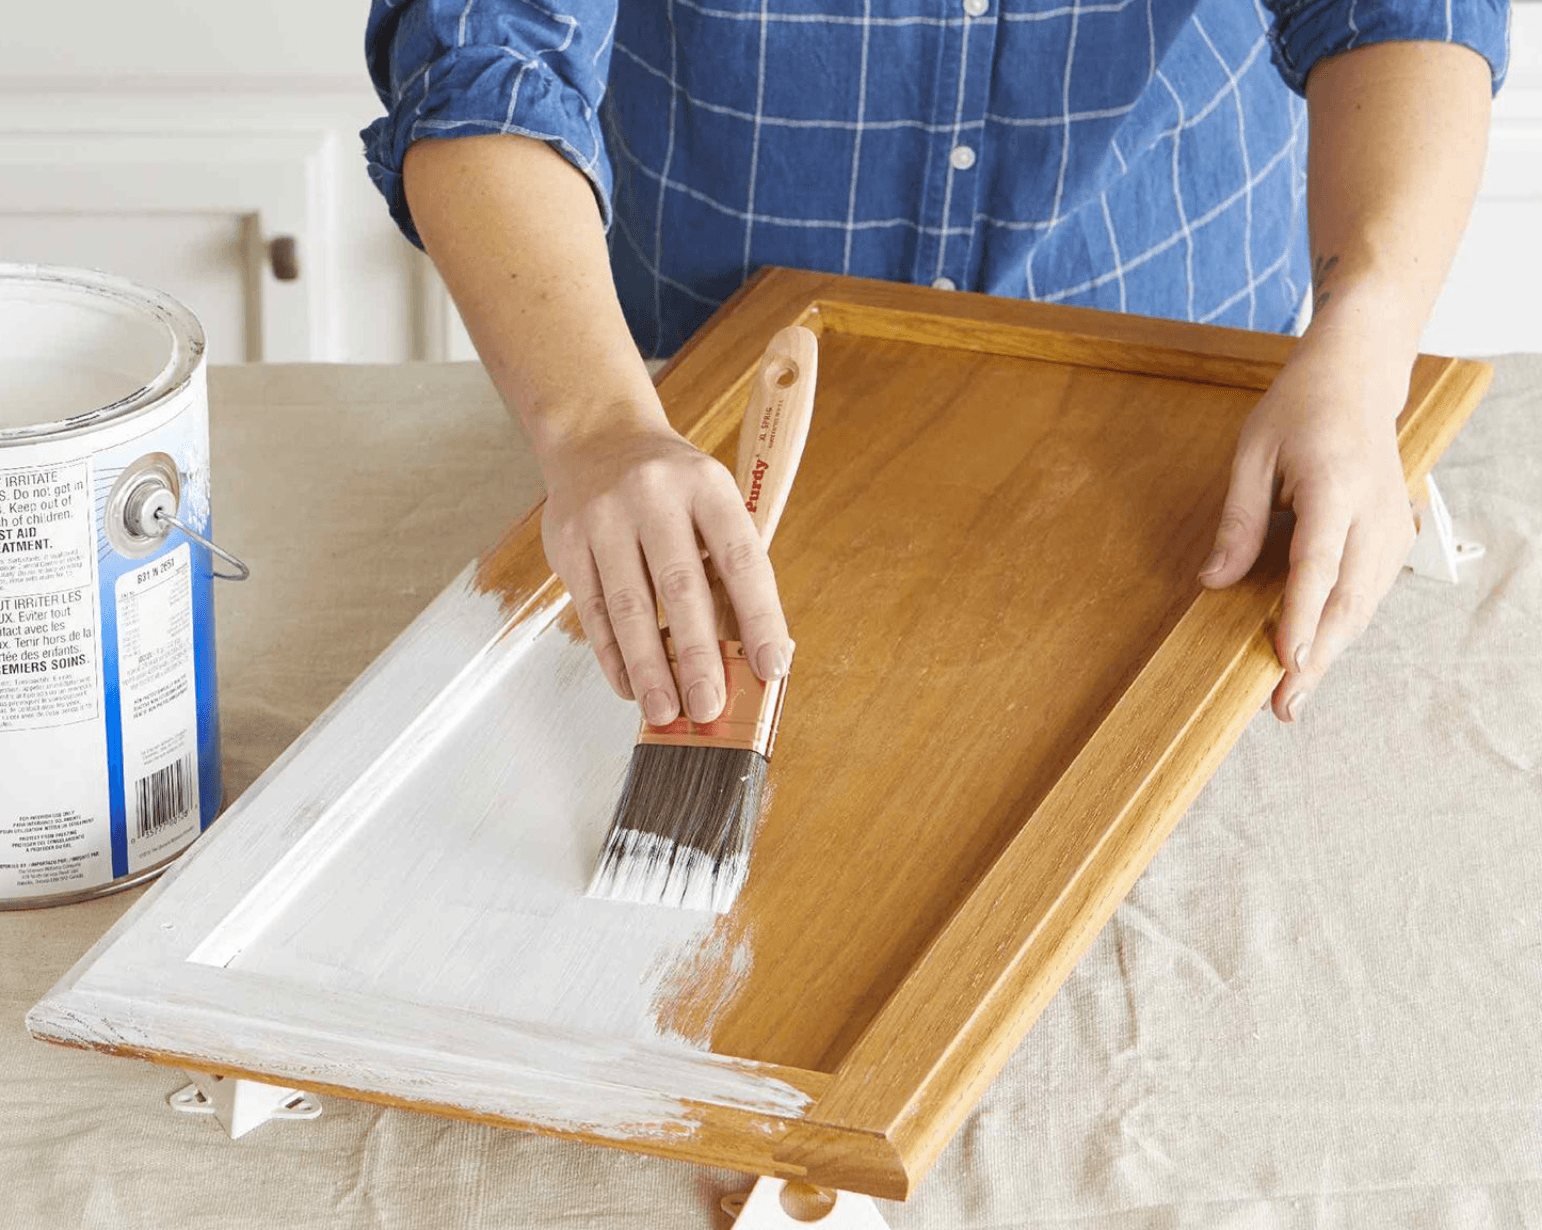
5. Prime Before Painting
Primer helps block stains, prevents wood tannins from bleeding, and ensures paint sticks properly.
- Apply one coat of primer with a foam roller for flat surfaces and a brush for edges.
- Let it dry fully before moving to the next step.
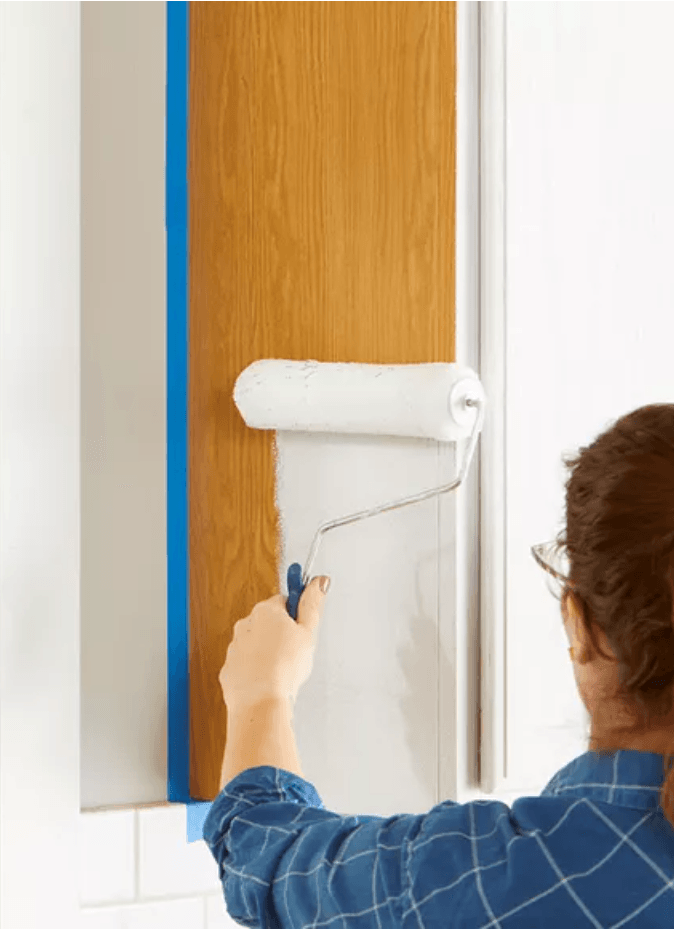
6. Apply the Paint
Now for the fun part!
- Stir your paint thoroughly.
- Apply thin, even coats with a foam roller and brush.
- Let each coat dry completely before adding the next.
- Two coats are usually enough, but some projects may need three.
7. Reassemble and Enjoy
Once your cabinets are completely dry and cured:
- Reinstall the doors, drawers, and hardware.
- Touch up any edges if needed.
You’ll be left with a fresh, updated kitchen — all without a full renovation.